


Finding the right football drills for kids can make practice safer, easier, and more fun.
Young players do not need long talks or hard drills right away. They need simple skills they can repeat, like throwing, catching, running, cutting, protecting the ball, and moving with control.
In this guide, I’ll walk you through age-based drills, position drills, agility work, common mistakes to avoid, and a simple 60-minute beginner practice plan.
You’ll also see tips for quarterbacks, running backs, wide receivers, defenders, and how to keep kids active without long waiting lines.
The goal is to help kids build real football skills step by step while staying safe and confident on the field.
How to Choose a Football Drill?
Before choosing a drill, check the skill focus, age fit, contact level, and equipment so practice stays safe and useful.
| Drill Name | Main Skill | Best Age | Contact Level | Equipment |
|---|---|---|---|---|
| Target Passing Drill | Helps kids aim short throws with better control | 7 and up | No contact | Football cones target |
| Hands Catching Drill | Builds soft hands and better catching habits | 6 and up | No contact | Football only |
| Cone Cut Drill | Teaches quick cuts and body control | 6 and up | No contact | Cones or markers |
| Flag Pull Drill | Builds safe defensive timing and pursuit angles | 5 and up | Light contact | Flag belts cones |
| Ball Security Run | Teaches runners to protect the football | 6 and up | Light contact | Football cones |
| Four Corner Drill | Builds sprint shuffle and backpedal control | 8 and up | No contact | Four cones |
| Mirror Dodge Drill | Helps defenders match a runner’s movement | 9 and up | Light contact | Two bags or cones |
| Bag Tackle Form Drill | Teaches safe form before player contact | 10 and up | Bag contact | Soft tackle bag |
Football Drills by Age Group
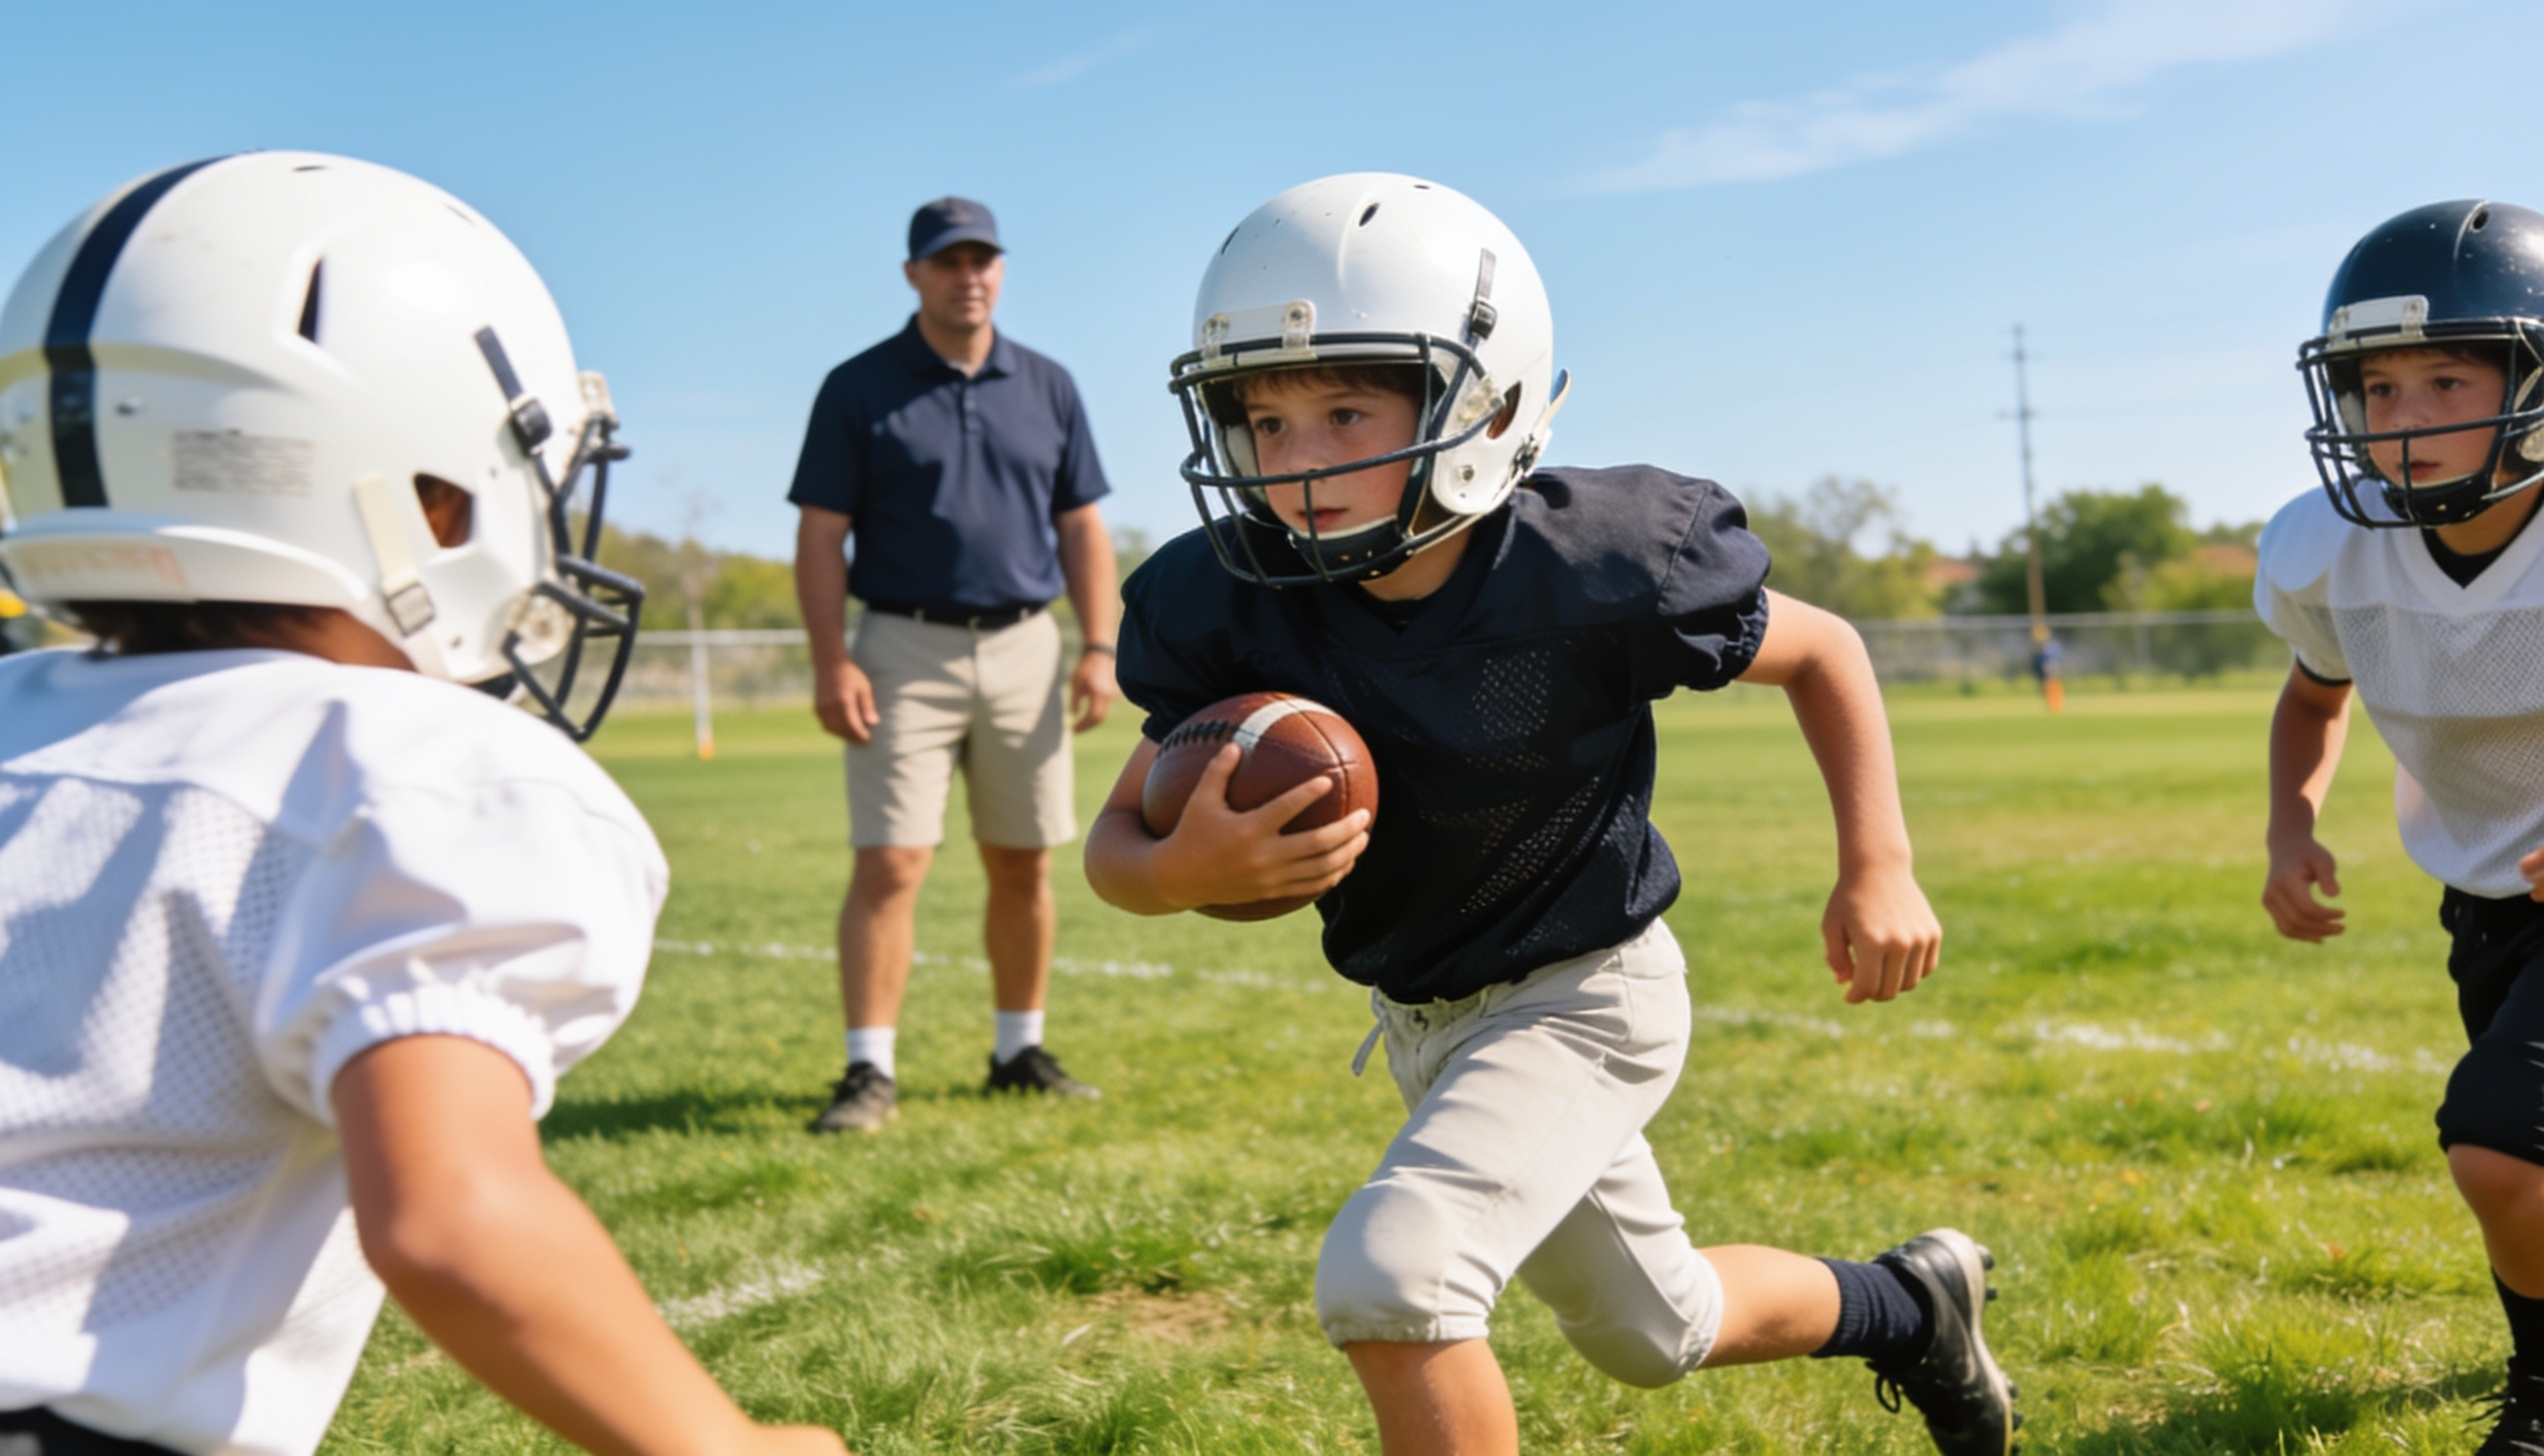
Age matters when choosing football drills for kids.
Younger players need simple movement and ball security work. Older players can handle more position drills, faster reps, and game-like situations.
The goal is to build skills step by step, not rush kids into drills they are not ready for.
1. Beginner Drills for Ages 5 to 7
Kids aged 5 to 7 need short drills with simple rules.
Focus on basic movement, handoffs, short throws, easy catches, cone runs, and ball security. Avoid hard contact, long lines, and long instructions.
At this age, the goal is to help kids move better, listen better, and enjoy football practice.
2. Basic Skill Drills for Ages 8 to 10
Kids aged 8 to 10 can handle more structure, but drills should still stay active.
Use passing targets, catching reps, ball security runs, cone cuts, and defensive footwork. Split players into small groups so they get more turns and less waiting.
Kids at this age learn best when they touch the ball often, hear clear cues, and stay involved.
3. Position Drills for Ages 11 to 12
Kids aged 11 to 12 can start more position-based drills.
Use quarterback drops, receiver route breaks, running back cuts, linebacker mirror drills, and blocking footwork. Teach control before speed.
If a player rushes and loses form, slow the drill down before adding game speed.
4. Game-Ready Drills for Ages 13 to 14
Kids aged 13 to 14 can handle faster drills and more game-like work.
Add timing routes, reaction drills, defensive backpedals, blocking footwork, and controlled contact drills with close coaching. Do not rush heavy contact.
Strong drills at this age should teach body control, football awareness, quick decisions, and skills players can use in real game situations.
Football Drills by Position and Skill
After kids understand the basic age-level drills, move into position and skill work.
Quarterback Drills to Build Short Passing Accuracy
Short passing drills help young quarterbacks build aim, timing, footwork, and confidence. Start with easy throws before adding movement or faster reads.
1. Target Passing Drill

Setup: Place three to five targets 5 to 10 yards away. You can use cones, buckets, soft targets, or a coach standing still. Give the quarterback one football and enough space to throw safely.
How to run it:
- The quarterback throws to each target in order.
- Start with short, easy throws.
- After a few clean reps, change the order or move one target farther away.
Coach tip: Tell quarterbacks to step toward the target and finish with the throwing hand pointing down. This helps to reduce high or wild throws.
2. Knee Passing Drill

Setup: Pair players about 5 yards apart. Each pair needs one football. The passer kneels on one knee while the partner stands or kneels as the receiver.
How to run it:
- The passer throws easy balls from the kneeling position.
- Since the legs are not helping much, the player must focus on grip, arm path, and follow-through.
- After five clean throws, switch roles.
- Move the pair back only when the throw stays clean.
Coach tip: If the ball wobbles, check the grip first. Many passers hold the ball too deep in the palm, which makes the throw less steady.
3. Rollout Passing Drill

Setup: Place one cone as the start point and another cone 3 to 5 yards to the left or right. Put a receiver 5 to 8 yards downfield.
How to run it:
- The quarterback starts at the first cone, moves to the second cone, then throws on the move.
- Run the drill to both sides.
- Keep the first reps slow so the player can move, set the shoulders, and throw with control.
Coach tip: Do not let players sprint through this drill too early.
4. Quick Release Drill
Setup: Place one short target 5 to 7 yards away. The quarterback starts with the ball near the chest. Coach stands beside the player and gives the signal.
How to run it:
- On the signal, the quarterback takes one quick step and throws right away.
- This teaches fast feet, quick hands, and better timing.
- After a few reps, add a second target and call the target just before the throw.
Coach tip: Young quarterbacks often drop the ball too low before throwing. Keep the ball near the chest so the release stays fast and the motion stays compact.
Running Back Drills to Improve Ball Security and Cuts
Running back drills should first teach two things: protect the ball and stay balanced while moving. Start slow, build control, then add speed.
5. Handoff Pocket Drill
Setup: Pair one quarterback with one running back. Mark a short handoff path with two cones and use one football.
How to run it:
- The running back steps toward the quarterback and makes a strong pocket with both arms.
- The quarterback places the ball into that pocket.
- The runner clamps the ball tight and runs 5 yards through the finish.
- Repeat from both sides so the runner learns each handoff angle.
Coach tip: I tell runners to squeeze the ball the second they feel it. A loose first step is one of the main reasons players drop handoffs.
6. Cone Cut Carry Drill
Setup: Place four to six cones in a straight line, about 2 yards apart. Give the runner one football.
How to run it:
- The runner carries the ball high and tight while cutting through the cones.
- Start with a walk-through, then move to a jog, then a faster run.
- The goal is to change direction without swinging the ball, standing too tall, or losing balance.
Coach tip: If the ball leaves the body, slow the drill down. Speed means nothing if the runner cannot protect the football.
7. Ball Security Gauntlet Drill
Setup: Make two short lines of players about one yard apart. One runner starts at the top of the lane with the football.
How to run it:
- The runner moves through the lane while players on each side lightly reach for the ball.
- The runner keeps the ball tight, drives the feet, and finishes through the end of the lane.
Coach tip: This drill should build control, not fear. If the runner freezes, lowers the head, or stops moving, reduce the pressure and reset the drill.
8. Jump Cut Drill
Setup: Place one start cone, one plant cone 3 to 4 yards ahead, and one finish cone to the left or right.
How to run it:
- The runner starts forward, plants near the middle cone, cuts to the side cone, and finishes through the end.
- Run the drill both left and right.
- This teaches runners to change lanes with one clean move instead of taking extra steps.
Coach tip: Teach one strong plant, one quick push, and a fast finish through the final cone.
Wide Receiver Drills to Improve Catching and Routes
Wide receiver drills should build three habits: clean hands, sharp cuts, and strong body control. Start with short routes and easy throws, then add speed once the catch and route shape look steady.
9. Hands Catching Drill
Setup: Pair players 5 to 7 yards apart with one football. Use open space and keep the drill no contact.
How to run it:
- Players throw easy passes back and forth.
- The receiver should catch the ball with the hands away from the body, not against the chest.
- Add light movement only after the player catches cleanly.
Coach tip: Tell players to watch the ball all the way into the hands.
10. Cone Route Break Drill
Setup: Set cones to mark a short route, such as a slant, out, curl, or comeback. Place a coach or quarterback near the throwing spot.
How to run it:
- The receiver runs to the break cone, plants the outside foot, turns the head, and comes back to the ball.
- Start at half speed so the cut stays clean.
- Once the route looks sharp, add a real throw and raise the pace.
Coach tip: Do not let players round the break. A sharp plant helps the receiver gain space and gives the quarterback a clearer target.
11. Over the Shoulder Catch Drill
Setup: Place a start cone and a finish cone 10 to 15 yards downfield. A coach or quarterback stands behind the receiver with one football.
How to run it:
- The receiver runs forward while the passer throws the ball ahead.
- The receiver looks over one shoulder, tracks the ball, and catches it while still moving.
- Start with soft throws and a clear lane.
- Add speed only when the player can track the ball without drifting off the route.
Coach tip: Teach receivers to look early, but not too early. If they turn too soon, they slow down and lose the path of the route.
Defensive Drills to Build Footwork and Reaction
Good defense starts with feet, eyes, and angles. Young defenders often reach too much or chase from behind.
These drills teach players to stay balanced, react fast, and take smarter paths to the ball carrier.
12. Mirror Dodge Drill
Setup: Place two cones about 4 yards apart to create a short line. Put the ball carrier on one side and the defender on the other side, facing each other.
How to run it:
- On the whistle, the ball carrier moves side to side and tries to cross the line.
- The defender mirrors the movement with short, quick steps and works to stay in front.
- Keep each rep short, then switch roles.
Coach tip: Tell defenders to keep a wide base, bend at the knees, and move their feet before reaching. Reaching too early usually pulls them off balance.
13. Cone Reaction Drill
Setup: Place five or six cones in a straight line with small gaps between them. The player starts near the first cone in a good defensive stance.
How to run it:
- The player backpedals to one cone, plants, then breaks forward to the first cone.
- Repeat the pattern until the player reaches the last cone and returns to the start.
Coach tip: Watch the feet closely. Short, quick steps help players change direction faster than long, loose steps.
14. Angle Pursuit Drill
Setup: Mark a start point for the runner and a wider start point for the defender. Use cones to show the finish line or sideline target.
How to run it:
- The runner moves forward while the defender takes an angle to cut the runner off.
- The defender should not chase from behind.
- The goal is to meet the runner at the right spot.
- Start at half speed, then add pace once the angle looks right.
Coach tip: Tell defenders to aim for where the ball carrier is going, not where the ball carrier started.
Agility Drills for Speed, Footwork, and Balance
Agility drills help players move better throughout the game. These drills teach quick feet, low hips, balance, and clean changes of direction.
Start at a steady pace first. Once the movement looks safe and controlled, then add more speed.
15. Four Corner Drill
Setup: Place four cones in a square, about 5 yards apart. Make sure players have enough space around the square to move safely.
How to run it:
- The player starts at one cone, backpedals to the next cone, shuffles across, sprints forward, then shuffles back to the starting cone.
- Run the drill both ways so players work both sides of the body.
Coach tip: Keep knees bent and hips low. Players who stand too tall often lose balance when they switch direction.
16. Zigzag Cone Drill
Setup: Place cones in a staggered zigzag shape. Keep each cone about 3 to 5 yards apart, based on age and skill level.
How to run it:
- The player runs to the first cone, plants the outside foot, cuts to the next cone, and continues the pattern through the finish.
- Start at a steady pace so the cuts stay clean.
- Add speed only when the player can cut without slipping, rounding the turn, or losing balance.
Coach tip: Teach players to plant near the cone and push off the outside foot. This helps them make sharper cuts without taking extra steps.
17. Foot Fire Drill
Setup: Place two cones slightly wider than the player’s shoulders. The player stands between the cones in a low, ready stance.
How to run it:
- On the signal, the player moves the feet fast in place while pumping the arms.
- The feet should stay low and quick, not kick back like a jog.
- Run short bursts of 10 to 15 seconds.
Coach tip: If the feet start coming too high off the ground, slow the player down. The goal is quick foot taps and good body control.
18. T Drill
Setup: Place three cones in a straight line, 5 yards apart. Place one cone 5 yards in front of the middle cone to form a T shape.
How to run it:
The player starts at the bottom cone, sprints to the middle cone, shuffles to one side, shuffles across to the far cone, returns to the middle, then finishes back at the start.
Coach tip: Do not let players cross their feet while shuffling.
60 Minute Practice Plan For Kids
Use this simple practice plan to keep kids moving, reduce waiting, and cover the main football skills in one session.
- 0 to 10 minutes: Start with high knees, shuffles, backpedals, short jogs, and light throwing. Keep the pace easy, so players warm up without getting tired too early.
- 10 to 25 minutes: Run small skill stations for passing, catching, cone cuts, and ball security. Use short lines and rotate groups every few minutes.
- 25 to 40 minutes: Add position drills for quarterbacks, running backs, receivers, and defenders. Keep the drills simple and focus on one coaching point at a time.
- 40 to 55 minutes: Use game-like drills or short team periods that repeat the same skills. This helps kids connect practice reps to real plays.
- 55 to 60 minutes: Cool down, praise effort, and review what the team will work on next practice.
Common Drill Mistakes Coaches Should Avoid
Before you run a full practice, it helps to know which common mistakes slow kids down or make drills less useful.
| Mistake | Why It Hurts Kids | Better Choice |
|---|---|---|
| Long lines | Kids get bored and lose focus | Use small stations |
| Too many instructions | Young players stop listening fast | Give one clear cue |
| Hard contact too early | Injury risk goes up | Teach form first |
| Same drill too long | Energy and effort drop | Rotate every few minutes |
| Ignoring beginners | New players fall behind | Pair players by skill |
Safety Rules for Contact and Concussions
Before any contact drill, set clear safety rules so players know how to move, when to stop, and what signs coaches or parents must watch for.
- Body Position First: Teach knees bent, chest up, eyes up, and feet under the body before contact. Start with walk-throughs before bag work.
- Use Soft Bags First: Soft bags help players learn wrapping, hand placement, and leg drive with less risk.
- Keep Contact Short: Contact work should be brief, well-planned, and closely monitored. Stop the drill when players get tired, sloppy, or too wild.
- Stop Unsafe Reps: End the rep if a kid drops the head, twists badly, hits blind, or loses control.
- Watch Head Injuries: Stop play after any possible head injury. Watch for headache, dizziness, confusion, balance issues, nausea, or odd behavior, and require medical clearance.
Final Thoughts
Good football practice is not about doing the most drills. It is about choosing the right drills for the right age, skill level, and goal.
When kids work on passing, catching, running, footwork, ball security, and defense in small steps, they build better habits on the field.
A simple drill done the right way can teach confidence, control, and smart movement. Coaches should also keep safety in mind, especially during contact work and head injury checks.
Start with a few drills from this guide, keep practice active, and build from there. Try one age-based drill and one position drill at your next practice.
Frequently Asked Questions
What are the Best Football Drills for Kids?
The best drills are short, safe, and active. Start with catching, passing, cone cuts, ball security, and simple agility drills.
How Long Should Football Drills for Kids Last?
Most youth drills should last 5 to 10 minutes. Younger kids do better with short blocks and quick changes.
Are Tackling Drills Safe for Kids?
They can be safer when taught with good form, soft bags, short reps, and close supervision from trained coaches.